Vintage Clothing Restoration + Preservation
Washing:
First, one rule of thumb for cleaning vintage clothing - if it's pre-1960s, DO NOT take it to the dry cleaner's!! I've personally not had this happen, but I know other vintage bloggers who highly advise against it because garments they've taken in have been returned with holes and tears. Unless you know someone who has experience with properly caring for vintage clothing, it's best not to risk receiving a damaged garment and just do it yourself at home.
For my pre-1960s garments, I generally fill up the tub with cool water and let them soak in it for a few minutes. If - and only if - they are clearly dirty do I add any detergent; and when I do, I always make sure that it's 100% naturally-derived as it is much more gentle on older pieces than chemical-chalked detergents. However, this is only if it's absolutely necessary. For certain garments, especially ones that smell/appear to be clean or have supposedly been cleaned by the seller, I find that a quick soak in cool water freshens them up significantly. Plus, I never have to worry about the detergent potentially having too harsh an effect on them!
With garments that are 1960s and newer, I find that it's usually safe to put them through the washing machine so long as they're washed on the gentlest cycle. If the fabrics appear to be more fragile than typical, I hand wash them using the procedure above.
Whether you wash an item using the first procedure or the second, I do recommend always hang-drying if it won't put stress the shoulders or alter the drape of the fabric, and flat-drying if it will.
Creases:
Haha, I doubt I really need to say much here. But nonetheless, if the fabric is not too fragile to tolerate it - and you will definitely know when it is and when it isn't - then iron it, adjusting the heat level appropriately. If it happens to be a more fragile piece, then take a damp press cloth, place it over the crease(s), and press out with the iron on low heat.
Now, to help you out a little more with deciding when to use the press cloth method...
If it's velvet, some rayons, crepe, chiffon, taffeta, silk/silk blend or liquid satin, chances are you'll want to get the cloth out.
Stains:
Unfortunately with vintage clothing, stain removal can often be a difficult feat. Typically the older, and more potent the coloring of the stain, the harder it is to remove. However, that's not to say it can't be done. Every stain washes differently depending on whether it's water or oil based, so you certainly try and hope for the best results!
Ally's all-purpose stain removal:
As long as you use equal parts of each ingredient, you can increase or decrease the quantity of stain removal as much as you'd like. I just generally use 1/4 cup all around because it tends to be just the right amount for each garment I restore.
1/4 cup distilled white vinegar
1/4 cup cold water (must be cold - hot water will set stains!)
1/4 cup baking soda
bowl of cold water
You simply mix the water with baking soda, slowly add in the vinegar to minimize its reaction with the vinegar, and let the mixture sit for a few minutes. Make sure the baking soda has fully dissolved, then dip a cotton cloth into the solution and gently dab the stained garment, little by little until the fabric is fully saturated with solution. Let garment soak for 20 minutes (or longer depending on how deep the stain) then dab out with cold water. Press flat to dry.
Note: Never make a batch of removal just to keep and store. In order for it to yield the best possible results with your garment, always make solution fresh and discard any leftover liquid.
Holes/Tears:
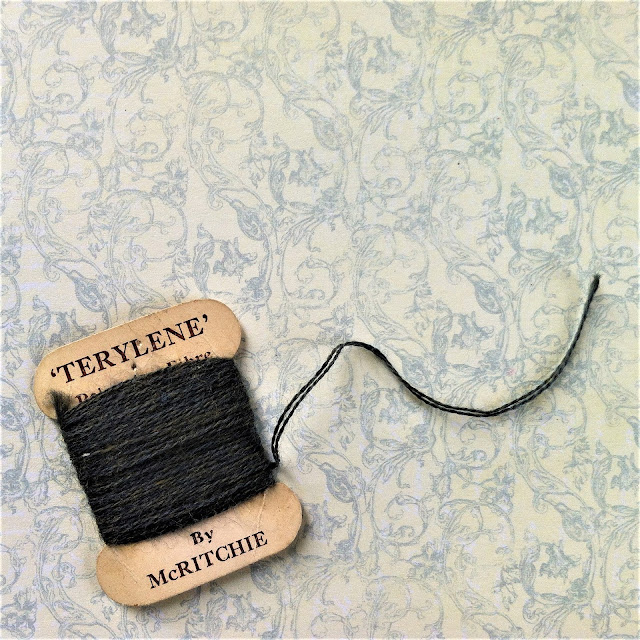
Oh boy, these can be a tricky ones to fix. For a garment with small holes (for example, holes due to moth damage) they can generally be patched up by carefully stitching over the area with thread of the same color [as the garment]. Unfortunately, with fabrics that are lighter in color, the stitching will most likely show no matter how well you manage to stitch it. So if you choose to fix a hole using this method, I recommend always working from the back (inside) of clothing.
For garments with bigger holes and tears it's not all that easy. And I'm sorry to say that in a lot of cases, they simply can't be fixed. However, the best solution I have to mending such clothing is if the piece allows, undo the hem or carefully rip out any fabric that isn't construction-necessary (this would include bows, sashes, sleeve + hem ruffles, etc.). Take from whatever part of the garment enough fabric to patch up the hole or tear. With matching thread, start at the back of the piece and with small stitches, carefully stitch the fabric to the hole.
If all else fails, there is always the option of using appliques, decorative lace, ribbons and the like to cover up the spot; detail-work can definitely add a unique and fresh touch to your garment, so don't fret if patching doesn't work out for you!


Comments
Post a Comment